DIY: Customized canvas totes
Jul 29, 2014
Jul 29, 2014

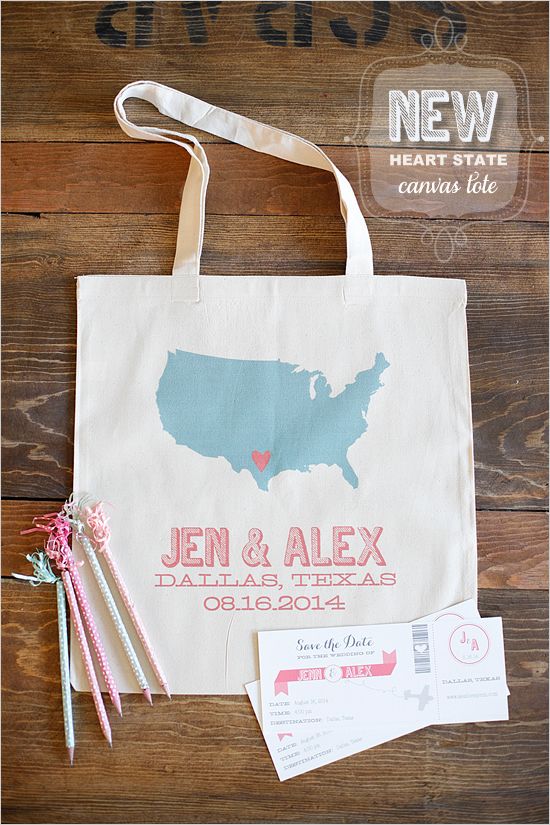
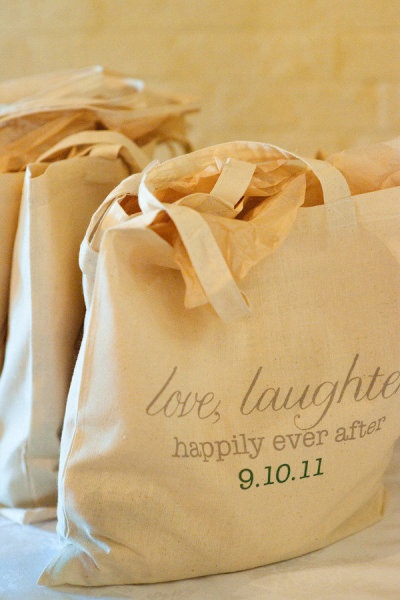
Customized plain totes make a great personal gift that doubles as eco friendly wrapping. They would make a great gift for wedding guests, baby shower gift bag, welcome parcel, first day of school gift bag, to birthdays and bridal shower party bags.
Fill your finished bag with pens, singlets, lollies, gourmet crackers and cheese, etc for a thoughtful useful bag!
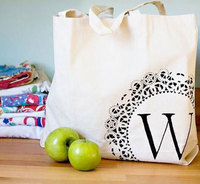
First here’s the step by step to create and doily stencil/monogram look:
1. Coat rough underside of doily with some cheap glue (to keep it in place) and press onto the bottom right-hand corner of the tote, leaving one-quarter of the doily hanging off the edge of the bag. Place a cardboard underneath to prevent paint from seeping thru to other side. Use paintbrush to brush fabric paint over the outer edge of the doily (don’t paint outside doily’s edges).
2. While paint is still wet, peel off doily, starting from the bag’s bottom edge. If the doily tears, peel off the remaining pieces. Let dry completely.
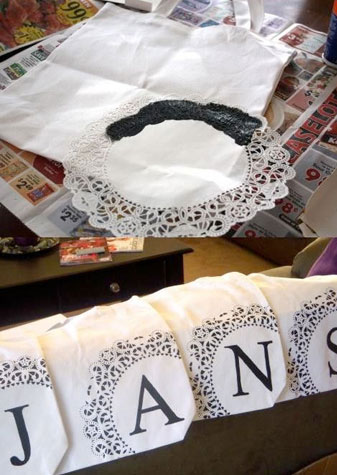
3. For monogram: Type the letter you want to use in a word-processing document on your computer, choosing a font size that will leave 1"–2" of space above and below the letter and the design (for this bag, we used Times Roman font, 550-point size), and print out on copy paper. Layer an 8 1 /2" x 11" piece of freezer paper, matte side up, over the printout and trace letter onto freezer paper. Discard printout. Lay freezer paper over cardboard and use X-Acto knife to cut the letter out of the freezer paper. Discard letter so you’re left with a stencil. Place stencil matte side up on bag, centered in doily design, and press down with an iron on the highest setting; don’t move iron back and forth. (The heat will slightly melt the freezer paper’s plastic coating so it adheres to the bag for easier painting.) Fill in letter with paint. Let dry, then remove freezer paper.
4. With iron on high, press down on doily design and letter for 20 to 30 seconds. This sets the paint so it doesn’t come off when you wash the bag.
Below are a few other stencil/custom DIY ideas for decorating calico bags.